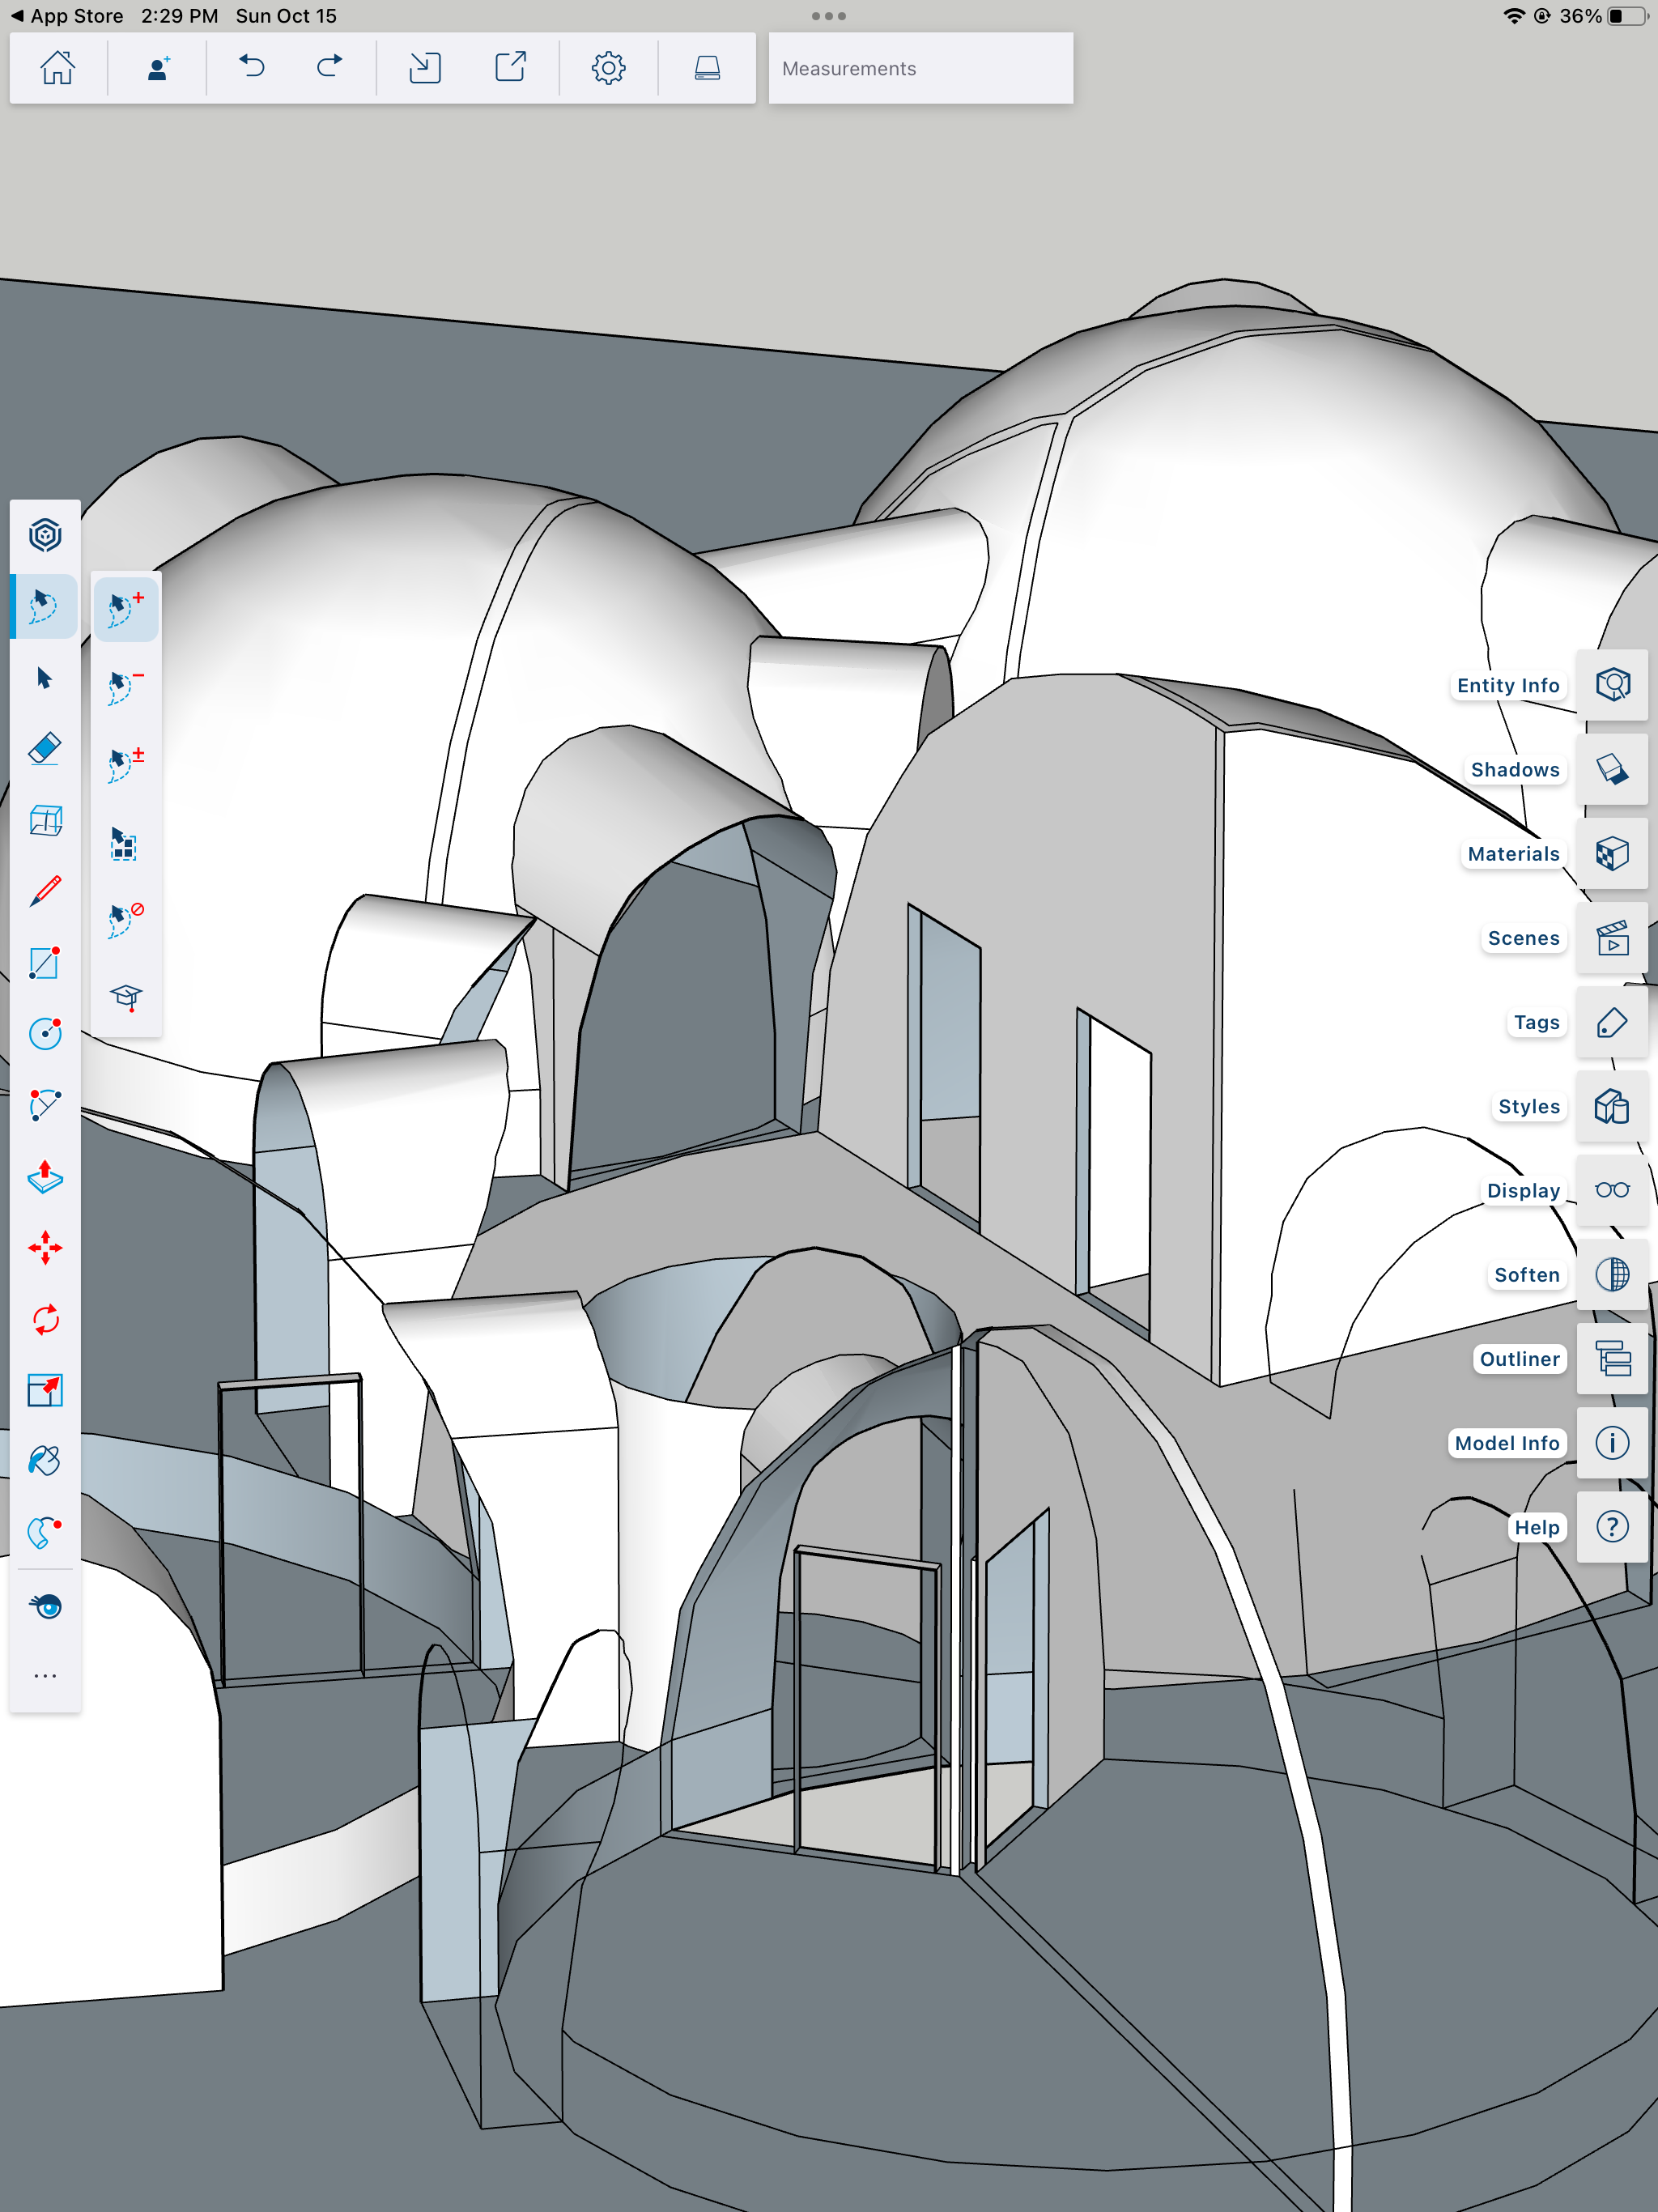
Our Dome Home - The Floorplan
AFFILIATE LINKS BELOW
Ok, so there are loads of ways that you can go about designing your home. And for the most part, people usually hire someone else to do it. Fortunately for us, the land that we bought had very few rules to abide by, and we’ve been in charge of almost the entire process! With my background in art, the challenge of figuring out all the details has been my favorite project yet. We’ve learned a TON. And from making tons of mistakes along the way, we now appreciate the reason WHY people usually hire professionals. HA!
Above are some of our initial floorplans. I created these renderings using the App SketchUp (Affiliate link to their site). Their program is great and after watching a few YouTube videos on how to use it, we were digitally creating our home in no time. I used the version made for the iPad. They also have a computer version of the software too!
To double check our layout in real life, we used spray paint and a tape measure to “sketch” onto the ground. We marked some lines to create a sort of ‘grid’ to measure against our drawings and the property line. Once we found the general area of where the center points of each dome was, we used the tape measure to mark the outer edge of each dome. We held one end of the tape measure at the center point, and then walked the other end around in a circle - spray painting from the radius length.
For example, with the utility dome, the radius needed to be 10 feet. After adding another foot for the bricks which sit outside the inner circle, we were marking that dome for an 11 foot radius.
After the initial sketch on the ground, we realized that our layout wasn’t going to work anymore. We had built up the land with fill dirt, and it didn’t quite reach as far as we needed to in a couple of spots. SO we adjusted.
Here is our new layout. It took quite a few tries to find the right combo, but this one ended up being just right.


